Before talking about Stimulus Reflex I want to explain you in my own words, what´s Reactivity in the web development.
What does Reactivity mean?
Reactivity is a fast and async reaction to user events just like tools as React or Angular do, for example, when you are typing in a text input and you can see the validation in real-time or when you add a product to a list and it appears immediately without reloading the page, that’s reactivity.
So, What does it mean for Rails to be Reactive?
It means that Rails can make interactions in real-time with HTML rendered from the server through WebSockets and the most important, with the least amount of Javascript code.
Let’s talk about Stimulus Reflex!
Library that extends the capabilities of both Rails and Stimulus by intercepting user interactions and passing them to Rails over real-time websockets. These interactions are processed by Reflex actions that change application state. The current page is quickly re-rendered and the changes are sent to the client using CableReady.
Definition from https://docs.stimulusreflex.com/
Time to code!
This is the repository of Tasky, the example application of this post.
Creating the project
We’re going to create a simple Tasks Manager for this example 👇🏼
1
2
3
4
5
6
7
8
# Create a new Rails project with Stimulus
rails new tasky --webpack=stimulus

# Create a new Rails project with Stimulus and a Tailwindcss template
rails new tasky -d postgresql --webpack=stimulus -m https://raw.githubusercontent.com/Sanchezdav/herewego/master/template.rb

# or if you have an existing project without Stimulus
rails webpacker:install:stimulus
For this example I’ll be using my template https://github.com/Sanchezdav/herewego, with this, we have Users already configured as well.
Models
Next step is to create our main models, Project and Task, so we can create a Project and you can add many Tasks for each Project, in this way you can manage and order better your Tasks.
1
2
3
4
> rails g scaffold Project user:references name description:text
...
> rails g model Task project:references content
...
Notice that Project is a scaffold because we want all actions to this resource.
Run the migrations to update the database
1
> rails db:migrate
Once our models are created, we need to add the relationships between them, like this 👇🏼
1
2
3
4
5
6
7
8
9
10
11
12
13
14
15
16
# tasky/app/models/user.rb
class User < ApplicationRecord
  ...
  has_many :projects, dependent: :destroy
end

# tasky/app/models/project.rb
class Project < ApplicationRecord
  belongs_to :user
  has_many :tasks, dependent: :destroy
end

# tasky/app/models/task.rb
class Task < ApplicationRecord
  belongs_to :project
end
Views
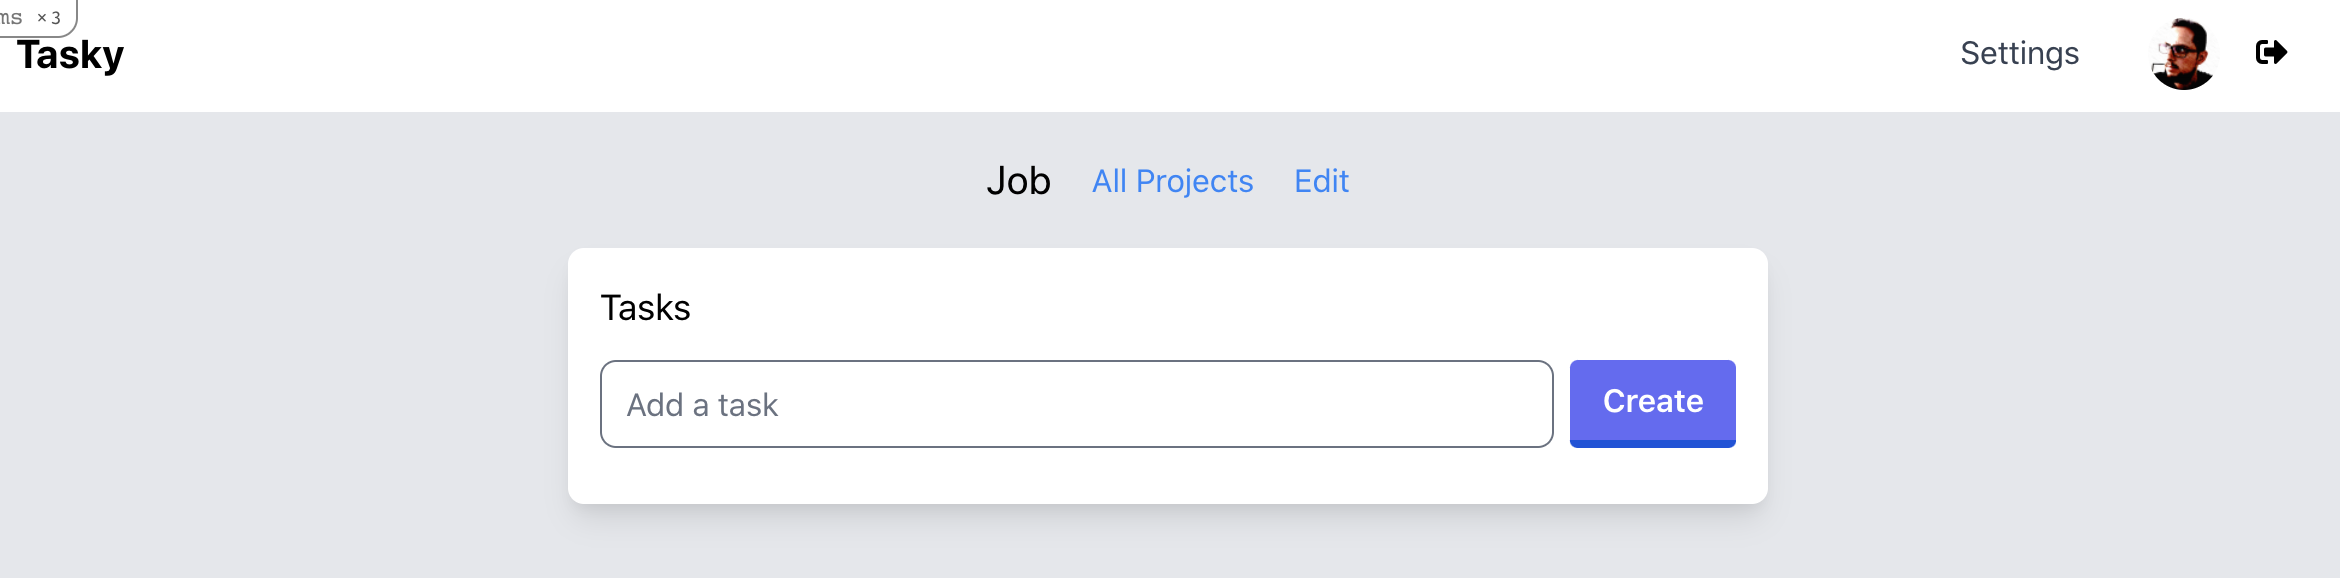
At this point we should be able to create, edit and destroy Projects, but if we go to /projects/1 we just see the Project data, so is necessary add a Task form there to create our Tasks list.
So we’re going to change the Project view like this file in Github and you’ll have something like next image
Add Stimulus Reflex
To install Stimulus Reflex we need to add the gem and install it
1
2
3
4
> bundle add stimulus_reflex
...
> rails stimulus_reflex:install
...
Be sure that you have <%= action_cable_meta_tag %> in your views/layouts/application.html.erb
Then let’s adapt the view to work with Reflex, first modification is the form and Tasks title
1
2
3
4
<h2 class="text-lg mb-3">Tasks (<%= @project.tasks.count %>)</h2>
<%= form_with(
      model: [@project, @task],
      html: { data: { reflex: "submit->Task#create" }}) do |form| %>
We added a @project.tasks.count with the purpose to see how the count is changing in real time while we add a new task, and the form has a html: { data: { reflex: "submit->Task#create" }} with this, we are telling it that when we submit the form, it will execute the TaskReflex and the create action but before add the Reflex class we need to add the Tasks list after the form.
1
2
3
4
5
6
7
8
9
10
11
12
13
<div class="mt-5">
  <% if @project.tasks.any? %>
    <ul>
      <% @project.tasks.each do |task| %>
        <li class="border-2 bg-gray-200 hover:bg-gray-300 rounded-lg p-2 mb-2">
          <%= task.content %>
        </li>
      <% end %>
    </ul>
  <% else %>
    <h3 class="text-md">Add your first task ☝️</h3>
  <% end %>
</div>
and finally the TaskReflex
1
2
3
4
5
6
7
8
9
10
11
12
13
14
class TaskReflex < ApplicationReflex
  delegate :current_user, to: :connection

  def create
    @project = current_user.projects.find(params[:id])
    @project.tasks.create(task_params)
  end

  private

  def task_params
    params.require(:task).permit(:content)
  end
end
Notice that we have a delegate :current_user, to: :connection, this provide us a global user context, so for devise is necessary add this into app/channels/application_cable/connection.rb
1
2
3
4
5
6
7
8
9
10
11
12
13
14
15
16
17
18
19
module ApplicationCable
  class Connection < ActionCable::Connection::Base
    identified_by :current_user

    def connect
      self.current_user = find_verified_user
    end

    protected

    def find_verified_user
      if (current_user = env["warden"].user)
        current_user
      else
        reject_unauthorized_connection
      end
    end
  end
end
and that’s it 🤟🏼
You can see how the Tasks number is increasing while the task item is adding, and this, without reloading the page.
Bonus
If you are an observer, you noticed that the input is not cleaned after the task is created, we can do it with Stimulus, yes, the Reflexes can be executed by Stimulus Controllers as well.
First step is modify the form, adding data-controller, data-target and data-action
1
2
3
4
5
6
7
8
<%= form_with(
      model: [@project, @task],
      html: { data: { controller: 'task' }}) do |form| %>
  <div class="flex mb-3">
    <%= form.text_field :content, data: { target: 'task.input' }, class: 'w-full rounded-lg mr-2', placeholder: 'Add a task' %>
    <%= form.button 'Create', data: { action: 'click->task#create' }, class: 'btn btn-primary' %>
  </div>
<% end %>
and finally let´s create a Stimulus controller called task_controller.js into app/javascript/controllers/ with this
1
2
3
4
5
6
7
8
9
10
11
12
13
14
import ApplicationController from './application_controller'

export default class extends ApplicationController {
  static targets = ['input']

  create(e) {
    e.preventDefault()

    this.stimulate('TaskReflex#create').then(() => {
      this.element.reset()
      this.inputTarget.focus()
    })
  }
}
The data-controller is the name of my file controller in this case task, data-target is the input and it’s necessary to do the focus after task is created end finally data-action tells us that we want to execute the create method when we click the button, so this method calls the Reflex action, task is created, the input is cleaned and focused.
Now you can do Reactive applications with Ruby on Rails and Stimulus Reflex 💪