Rails is a powerful framework that gives us out of the box, tools like Hotwire, this helps us to build reactive applications, and also, we have external tools like Stimulus Reflex which like Hotwire, offer interactions that user is looking for (you can see this post about reactive applications with Reflex).
But sometimes, you are looking for something else, maybe things that, tools like React or Vue can give you, can be that feeling of a SPA (Single Page Application). Rails has libraries like Webpacker that help us to use modern JS frameworks in an easy way but after installation, you need to do a lot of other things to get them to work in your applications, for example, you need to create some API’s and then call them from JS or in some cases, is necessary to use client-side routing and it feels like you have two applications even when you have a monolith.
Here, is where Inertia.js comes to the action! 🎉
What’s Inertia.js?
It’s a JS library that allows us to build a SPA (Single Page Applications) using the classic server-side render, I mean, using the views render, routing, and controllers as we would commonly do from the server-side without using API’s or client-side routing, it only changes the way we render views, instead of returning HTML, views here are JavaScript Page Components.
At this moment, Inertia just have three official client-side adapters (React, Vue.js, and Svelte) and two server-side adapters (Laravel and Rails).
How does it work?
If you want to create a SPA, it’s not enough to have your views with JS, because if you click in a link to navigate to another page, your browser would do a full reload page so this is not a behavior of a SPA 😞
Inertia, actually, is a client-side routing library that intercepts your clicks 😧 using its own anchor link wrapper called <inertia-link>, when you click on this element, Inertia intercepts this event and makes the visit via XHR (XMLHttpRequest) instead.
So, when Inertia makes an XHR visit, the server can detect that it’s an Inertia request and instead of returning HTML, it returns a JSON response with the JavaScript page component name and data, finally, Inertia just replace this new component into the page and updates the history state.
How does the server know if it’s an Inertia request?
When someone makes the first request to your application, it’s a full reload page and it returns HTML, there aren’t any special headers at this point.
The previous HTML response serves the root div as a mounting point for the JS side, and this root contains the data-page attribute with a JSON page object.
Inertia uses this page object to share data between client and server, this object contains these properties:
- Component: The name of the JavaScript page component.
- Props
- URL: The page URL
- Version: The current asset version (if there’s asset changes, Inertia will automatically make a full page visit instead of an XHR visit).
The next requests are made via XHR with the X-Inertia header set to true (using the Inertia element anchor), this means that this request is through Inertia so, this the way that server knows if return just HTML or JS Page Components.
Next section will do an example with Rails and Vue.js! 🤟🏼
Let’s code!
Creating the Rails project
When we create a new project, it’s necessary skip turbolinks because it’s not compatible with Inertia, but if you have a project with it and you want to add Inertia, you can disable Turbolinks for any response sent to Inertia, for example redirect_to root_path, turbolinks: false, for now, this the command to create the project:
1
rails new inertia_example --skip-turbolinks
Installing Vue and Inertia
We could have installed Vue from the beginning like this:
1
rails new inertia_example --webpacker=vue --skip-turbolinks
But I want to show you how we can do it after installation in case anyone has a project already started, you can install Vue in this way:
1
rails webpacker:install:vue
Once Vue is installed, we need to add Inertia with this command:
1
yarn add @inertiajs/inertia @inertiajs/inertia-vue @inertiajs/progress
With this, we are installing Inertia, the Inertia Vue adapter and a progress bar, Inertia has an optional progress bar, so if you don’t want to install it, just remove it from the command.
Next step is to install Inertia to the server-side running this command in the terminal:
1
bundle add 'inertia_rails'
This will install the latest version of inertia_rails gem, and finally it’s necessary add defer: true to the javascript_pack_tag into the app/views/layouts/application.html.erb page:
1
<%= javascript_pack_tag 'application', defer: true %>
Adding defer we are telling to the application.js that will be executed after the page has been parsed, avoiding render errors with the dataset.
Setting up
After Vue installation, we can delete these files app/javascript/packs/hello_vue.js and app/javascript/app.vue because we don’t need them for now and let’s initialize Vue inside app/javascript/packs/application.js
1
2
3
4
5
6
7
8
9
10
11
12
13
14
15
16
17
18
19
20
21
22
// app/javascript/packs/application.js

...
import Vue from 'vue'
import { App, plugin } from '@inertiajs/inertia-vue'
import { InertiaProgress } from '@inertiajs/progress'

Vue.use(plugin)
InertiaProgress.init()

// Instead of using App.vue page, Inertia
// will use Rails application.html.erb layout page
const el = document.getElementById('app')

new Vue({
  render: h => h(App, {
    props: {
      initialPage: JSON.parse(el.dataset.page),
      resolveComponent: name => require(`../pages/${name}`).default,
    },
  }),
}).$mount(el)
You don’t need to add the ID app to the root element, the Inertia adapter will do it for you 👍, initialPage gets the page where the response from the controller will be inserted, this page is a data attribute inside the root element and resolveComponent will look at the pages directory for the views, this is a common convention if you ever used Vue or Nuxt.
Adding Tailwindcss
I’m going to use the tailwindcss-rails gem, the only thing you need to do is to run these two commands in the console:
1
2
bundle add tailwindcss-rails
rails tailwindcss:install
After that, you already have Tailwindcss running in your project, you can also remove or comment the stylesheet_link_tag from your app/views/layouts/application.html.erb.
Creating the Home page with Inertia
Let’s create the HomeController here app/controllers/home_controller.rb with this 👇🏼
1
2
3
4
5
class HomeController < ApplicationController
  def index
    render inertia: 'Home', props: {}
  end
end
We are just telling it that we’re going to render a view called Home placed into app/javascript/pages without any props, just the view, remember the folder pages was defined in our application.js in Setting up section.
Next step is to add the root in the config/routes.rb file:
1
2
3
Rails.application.routes.draw do
  root 'home#index'
end
Finally, we create the folder pages within app/javascript dir and we’re going to add the Home.vue file
1
2
3
4
5
6
7
8
<!-- app/javascript/pages/Home.vue -->

<template>
  <div>
    <h1 class="text-2xl text-center">Home</h1>
    <h2 class="text-xl text-center">This is a Vue page rendered with Inertiajs</h2>
  </div>
</template>
If you prefer, you can add these classes to the body element in application.html.erb:
1
2
3
4
5
6
<!-- app/views/layouts/application.html.erb -->

...
<body class="p-5 bg-gray-100 mx-auto">
  <%= yield %>
</body>
Run your Rails server with rails s and to see the changes without reloading the page manually, just run ./bin/webpack-dev-server in other console tab to watch the frontend changes, if you go to the browser, you’ll see something like this:
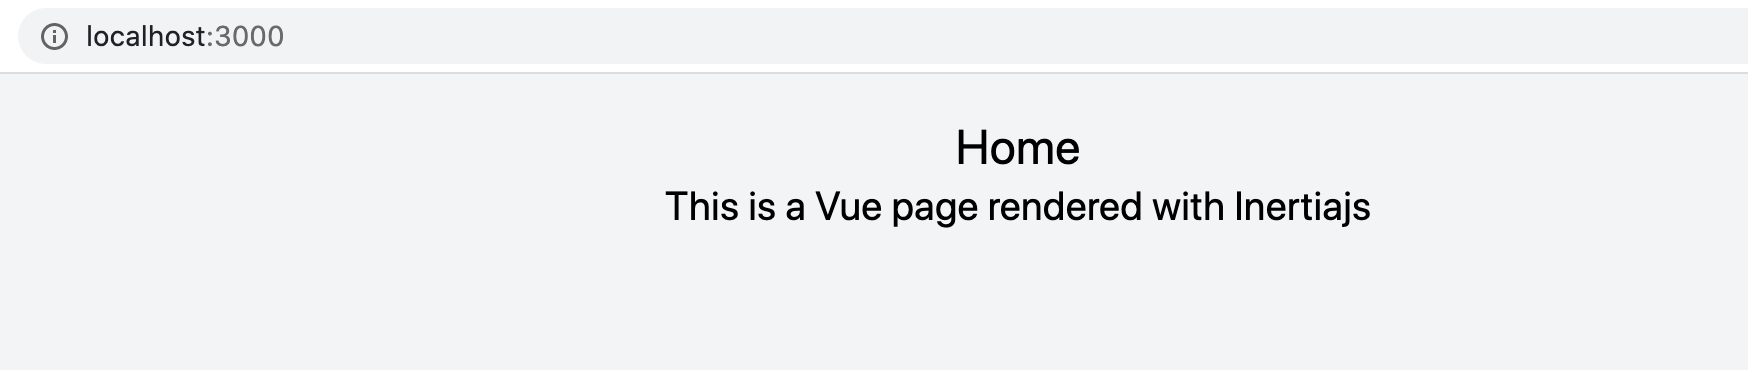
You got it! 🎉 Your first Vue page rendered with Rails and Inertiajs!
Passing data to views
Now, we want to pass some data to Vue, for this, let’s create a model called Book 👇🏼
1
2
3
4
rails g model Book title author edition editorial
...

rails db:migrate
We have our model with some attributes and it’s time to create the Books Controller:
1
2
3
4
5
6
7
8
9
10
11
# app/controllers/books_controller.rb

class BooksController < ApplicationController
  def index
    books = Book.all

    render inertia: 'Books/Index', props: {
      books: books.as_json(only: [:id, :title, :author, :edition, :editorial])
    }
  end
end
Books/Index means that we have a folder Books within app/javascript/pages and an Index.vue inside of and we are passing it a books array with the attributes we defined previously, so let’s create the Books/Index.vue file:
1
2
3
4
5
6
7
8
9
10
11
12
13
14
15
16
17
18
19
20
21
22
23
24
25
26
27
28
29
30
31
32
33
34
35
36
37
38
39
40
<!-- app/javascript/pages/Books/Index.vue -->

<template>
  <div>
    <h1 class="text-2xl text-center">Books</h1>
    <table class="min-w-max w-full table-auto">
      <thead>
        <tr class="bg-gray-200 text-gray-600 uppercase text-sm leading-normal">
          <th class="py-3 px-6 text-left">Title</th>
          <th class="py-3 px-6 text-left">Author</th>
          <th class="py-3 px-6 text-center">Edition</th>
          <th class="py-3 px-6 text-center">Editorial</th>
          <th class="py-3 px-6 text-center">Actions</th>
        </tr>
      </thead>
      <tbody class="text-gray-600 text-sm font-light">
        <tr v-for="book in books" :key="book.id" class="border-b border-gray-200 hover:bg-gray-100">
          <td class="py-3 px-6 text-left"><span class="font-medium">{{ book.title }}</span></td>
          <td class="py-3 px-6 text-left"><span class="font-medium">{{ book.author }}</span></td>
          <td class="py-3 px-6 text-left"><span class="font-medium">{{ book.edition }}</span></td>
          <td class="py-3 px-6 text-left"><span class="font-medium">{{ book.editorial }}</span></td>
          <td class="py-3 px-6 text-left">
            <inertia-link :href="$routes.book(book.id)">See</inertia-link>
          </td>
        </tr>
      </tbody>
    </table>
  </div>
</template>

<script>
  export default {
    props: {
      books: {
        type: Array,
        required: true,
      }
    }
  }
</script>
And don’t miss to add the routes for our Books resource:
1
2
3
4
5
6
# config/routes.rb

Rails.application.routes.draw do
  root 'home#index'
  resources :books, only: %i[index show]
end
Before of going to the browser, I want to add some example data with the purpose of see something when we render the books page, you can add this code to db/seeds.rb and run rails db:seed to save those data into database
1
2
3
4
5
6
7
8
10.times do |i|
  Book.create(
    title: "Metaprogramming Ruby Version-#{i}",
    author: "Paolo Perrotta",
    edition: "Edition #{i}",
    editorial: "The Pragmatic Programmers",
  )
end
So, go to http://localhost:3000/books and you should see something like this:
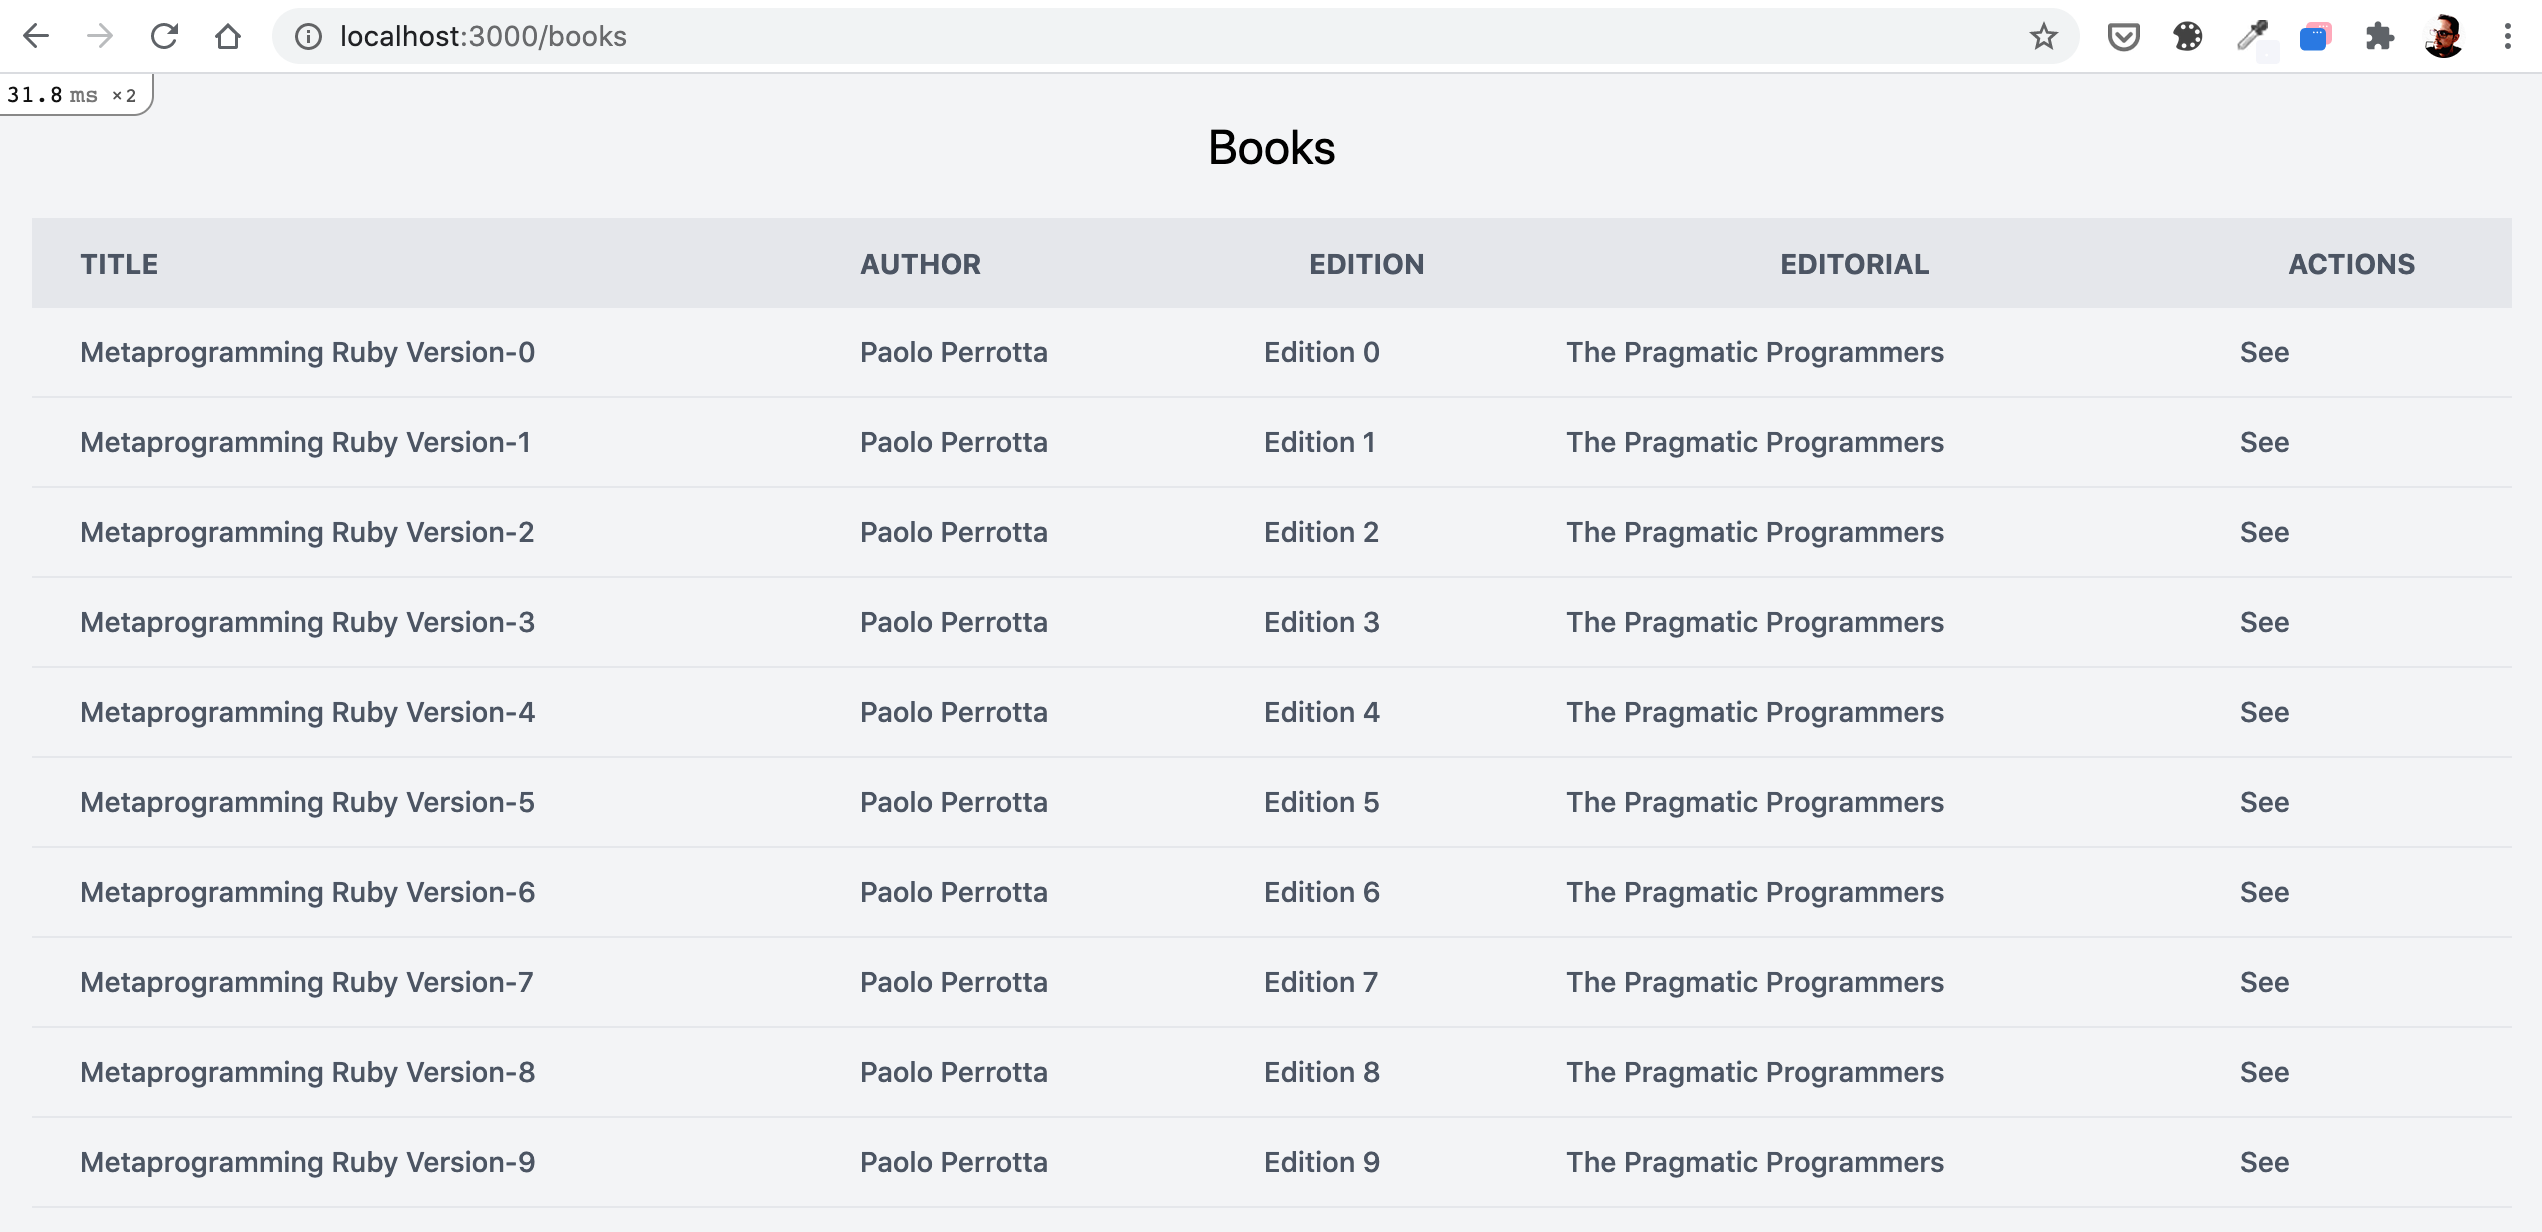
Great! 🤟🏼 We are passing data from Rails to Vue using Inertia!
Inertia Links
Before using the <inertia-link> element, go to books_controller.rb and create the show method to get a book:
1
2
3
4
5
6
7
def show
  book = Book.find(params[:id])

  render inertia: 'Books/Show', props: {
    book: book.as_json(only: [:id, :title, :author, :edition, :editorial])
  }
end
Now, we’re going to install a gem called js-routes, this gem defines all Rails named routes as Javascript helpers, and just need to run this command in the console:
1
bundle add "js-routes"
After installation create this file config/initializers/jsroutes.rb with this 👇🏼
1
2
3
4
5
6
7
8
# config/initializers/jsroutes.rb

JsRoutes.setup do |config|
  config.exclude = [/rails_/] # excludes rails generated routes
  config.compact = true       # removes the _path from the route name
  path = "app/javascript/packs" # destination folder
  JsRoutes.generate!("#{path}/routes.js")
end
This help us to generate automatically a file routes.js and you can use your Rails routes in Javascript, to use them in all places add the following within application.js:
1
2
3
4
5
// app/javascript/packs/application.js

...
import Routes from "./routes.js"
Vue.prototype.$routes = Routes
We can modify our Books/Index.vue file to add the <inertia-link> for each book:
1
2
3
4
...
<td class="py-3 px-6 text-left">
  <inertia-link :href="$routes.book(book.id)">See</inertia-link>
</td>
That is similar to use book_path(book.id) in Rails, we are passing the Booki ID to the book URL and finally, we can add the Books/Show.vue file:
1
2
3
4
5
6
7
8
9
10
11
12
13
14
15
16
17
18
19
<template>
  <div class="text-center">
    <h1 class="text-4xl font-bold mb-5"></h1>
    <h2 class="text-xl mb-3"></h2>
    <p class="font-light italic mb-5"> - </p>
    <inertia-link :href="$routes.books()" class="text-blue-500">Back</inertia-link>
  </div>
</template>

<script>
  export default {
    props: {
      book: {
        type: Object,
        required: true
      }
    },
  }
</script>
To be able to see the changes, go to the browser to /books path and click in some Book on the See link, and should see the Book view, something like this 👇🏼

If you open the devtools and navigate to the Network tab, choose All and then the request with the Book ID (in my case ID 2), yo can see on Request Headers section the X-Inertia: true and the X-Requested-With: XMLHttpRequest:
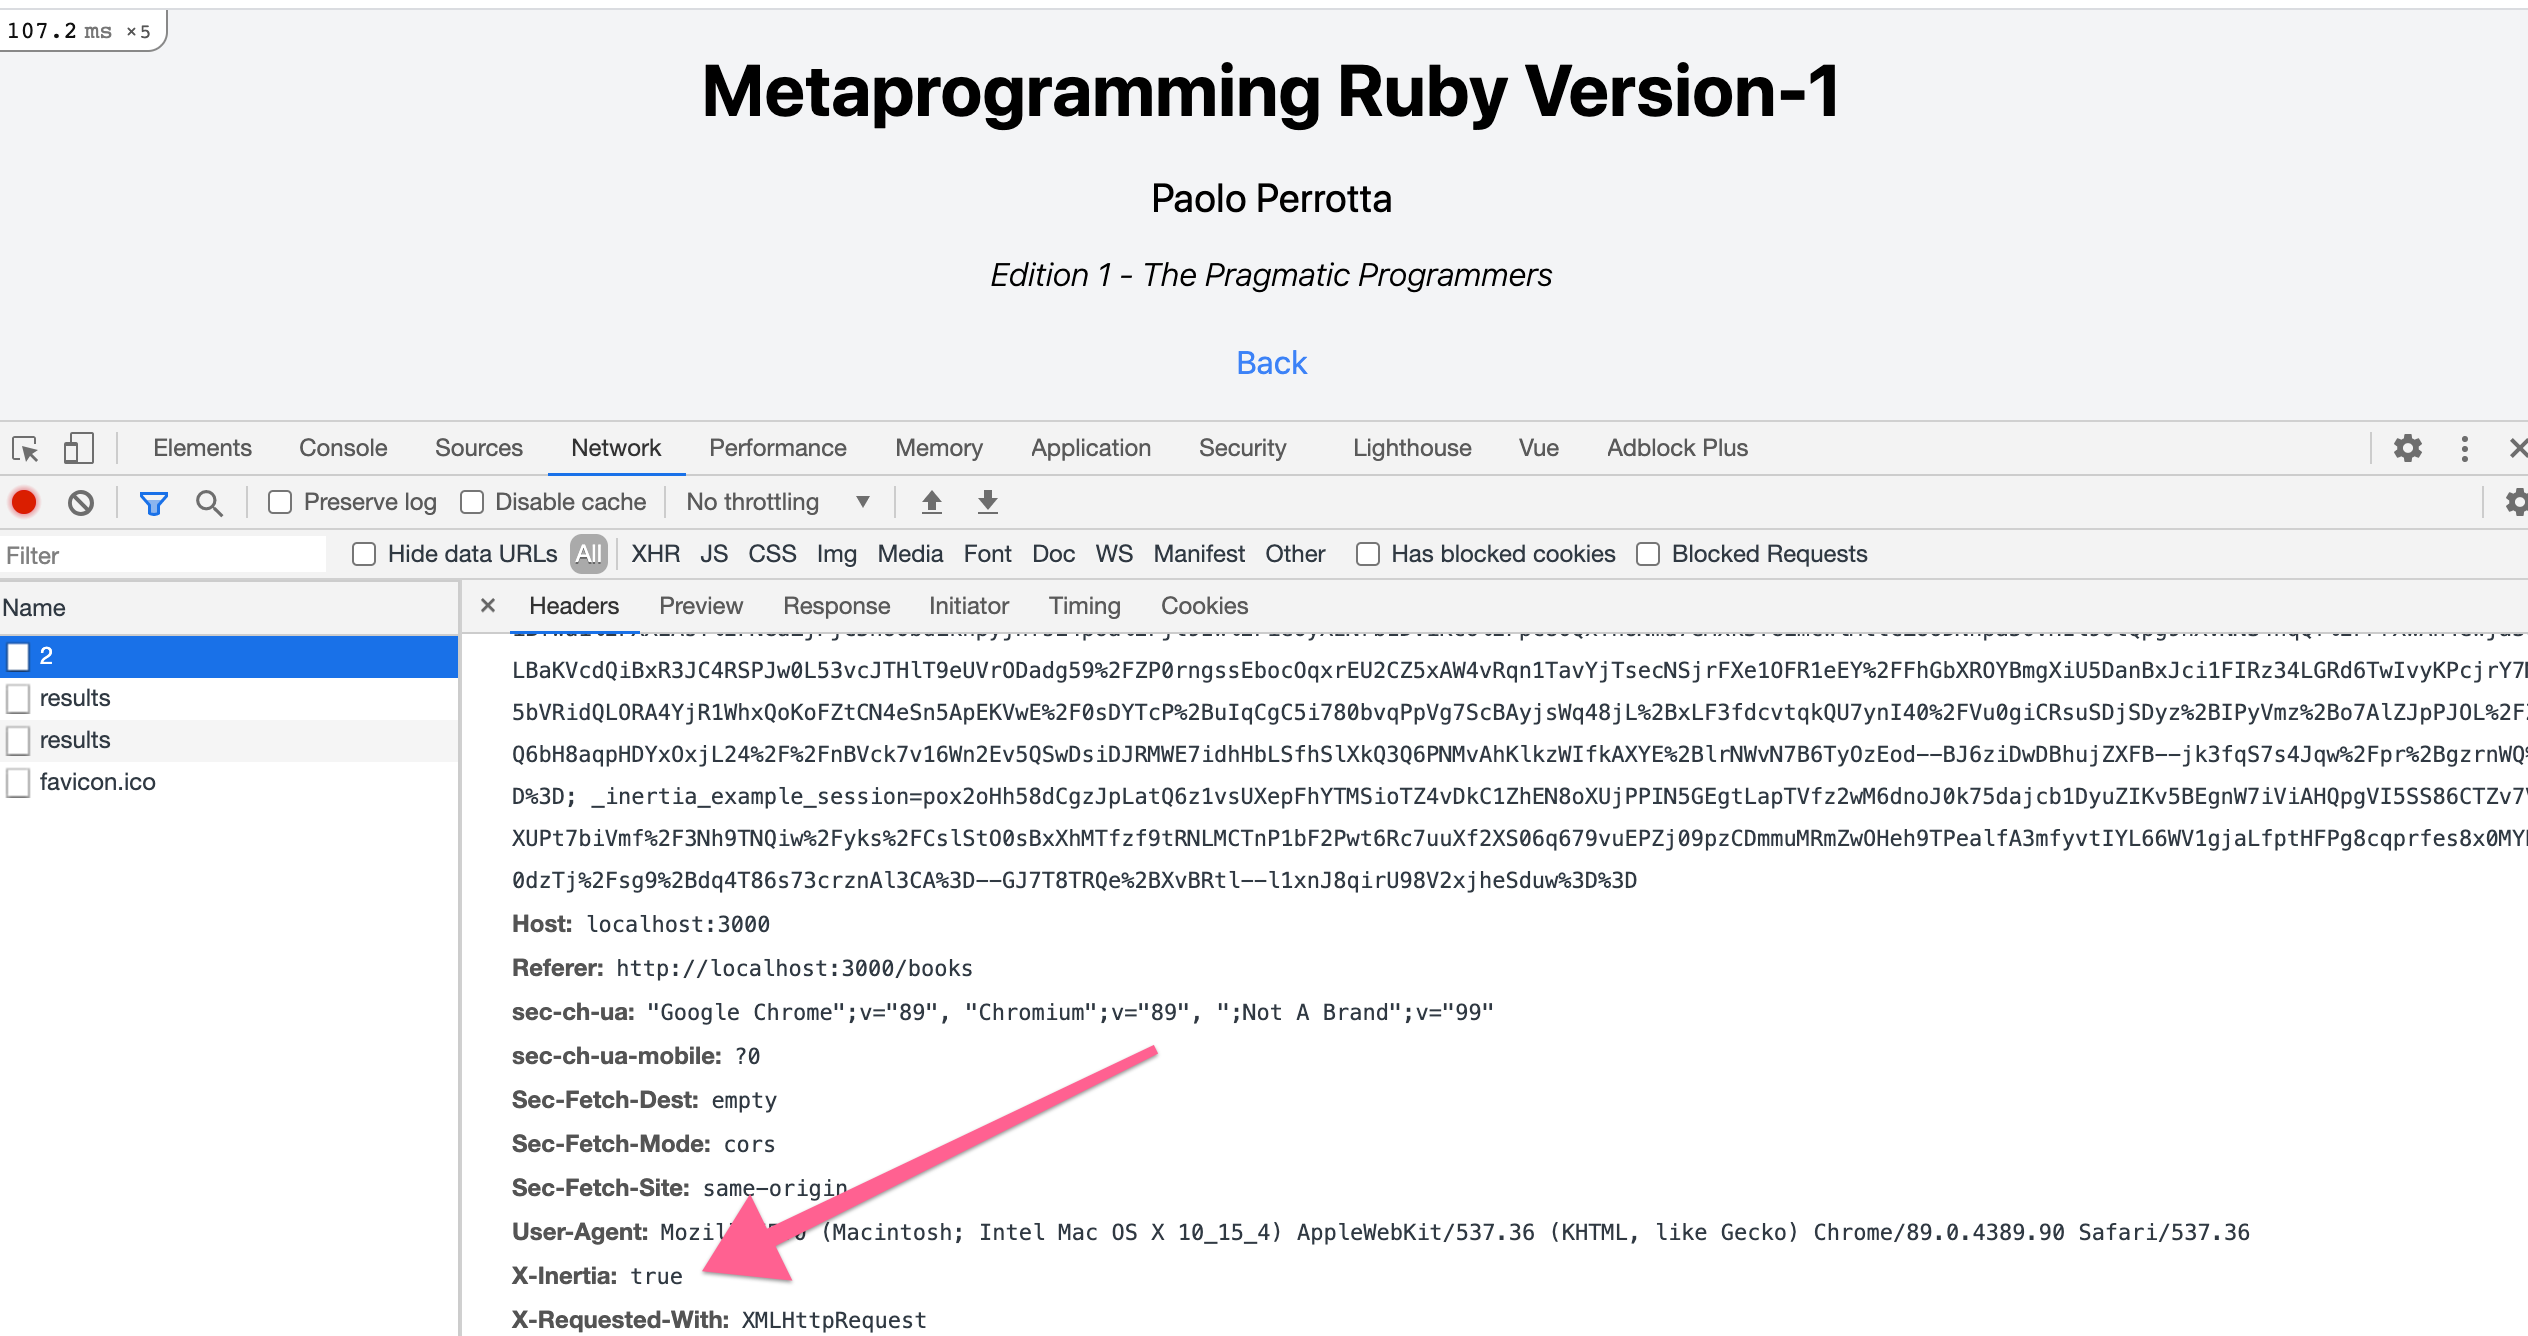
But remember, if you want to see this on the devtools, you need to come from the <inertia-link> element, because if you reload the page, you’re doing a full reload page.
So with this, you’ve implemented the Vue framework on Rails without needing an API or client-side routing, it’s just a common Rails application rendering Vue pages 🤟🏼.
See you next! 👋🏼