As we know, Rails has its own approach to re-use some parts of the view, you can extract this HTML in modules called partials and you can use them as many times as you need and it’s ok, actually, partials are an excellent option because you are using this feature out of the box without the need of install extra gems and the goal is accomplished, but, Github provides us another solution called ViewComponents.
What are ViewComponents?
Github page says:
ViewComponent is a framework for building reusable, testable & encapsulated view components in Ruby on Rails.
and they define their components here like:
Ruby objects that output HTML. Think of them as an evolution of the presenter pattern, inspired by React.
but what benefits can they give us?
Features
ViewComponents have some interesting features and that can be the param to decide between them or Partials, for example, these are my favorites features:
Testing
ViewComponents can be unit-tested 💪 and yes, this is crazy! because Rails traditional views are usually tested with Integration Tests but now you’ll have some covered views parts with this fast kind of tests.
Isolation
This is awesome! You can have all about your components organized into their own folder, in other words, isolated components, for example, suppose you have a Comment component, so your app/components/comment folder will look like this:
1
2
3
4
├── component.html.erb
├── component.js
├── component.rb
└── component.scss
At the end, you have an isolated and portable component, with its own structure, styles, and behavior 🤟🏼 ready to use in many parts of your application.
Readability
I love how you can organize your components as you saw in the above point, but this is not everything, a component is a Ruby Class, so you can see what each component needs to be rendered, into the initialize method mainly, you’ll see all needed data to build your view.
Components in action!
For this code example I’ll use the project created in the past post, so if you want to follow this implementation, just clone it from here 👌.
Installing ViewComponents
The first thing we need to do is install the gem, we just open the Gemfile and we add this line:
1
gem 'view_component', require: 'view_component/engine'
finally, run this command on console:
1
> bundle install
Let’s add more information to Tasks
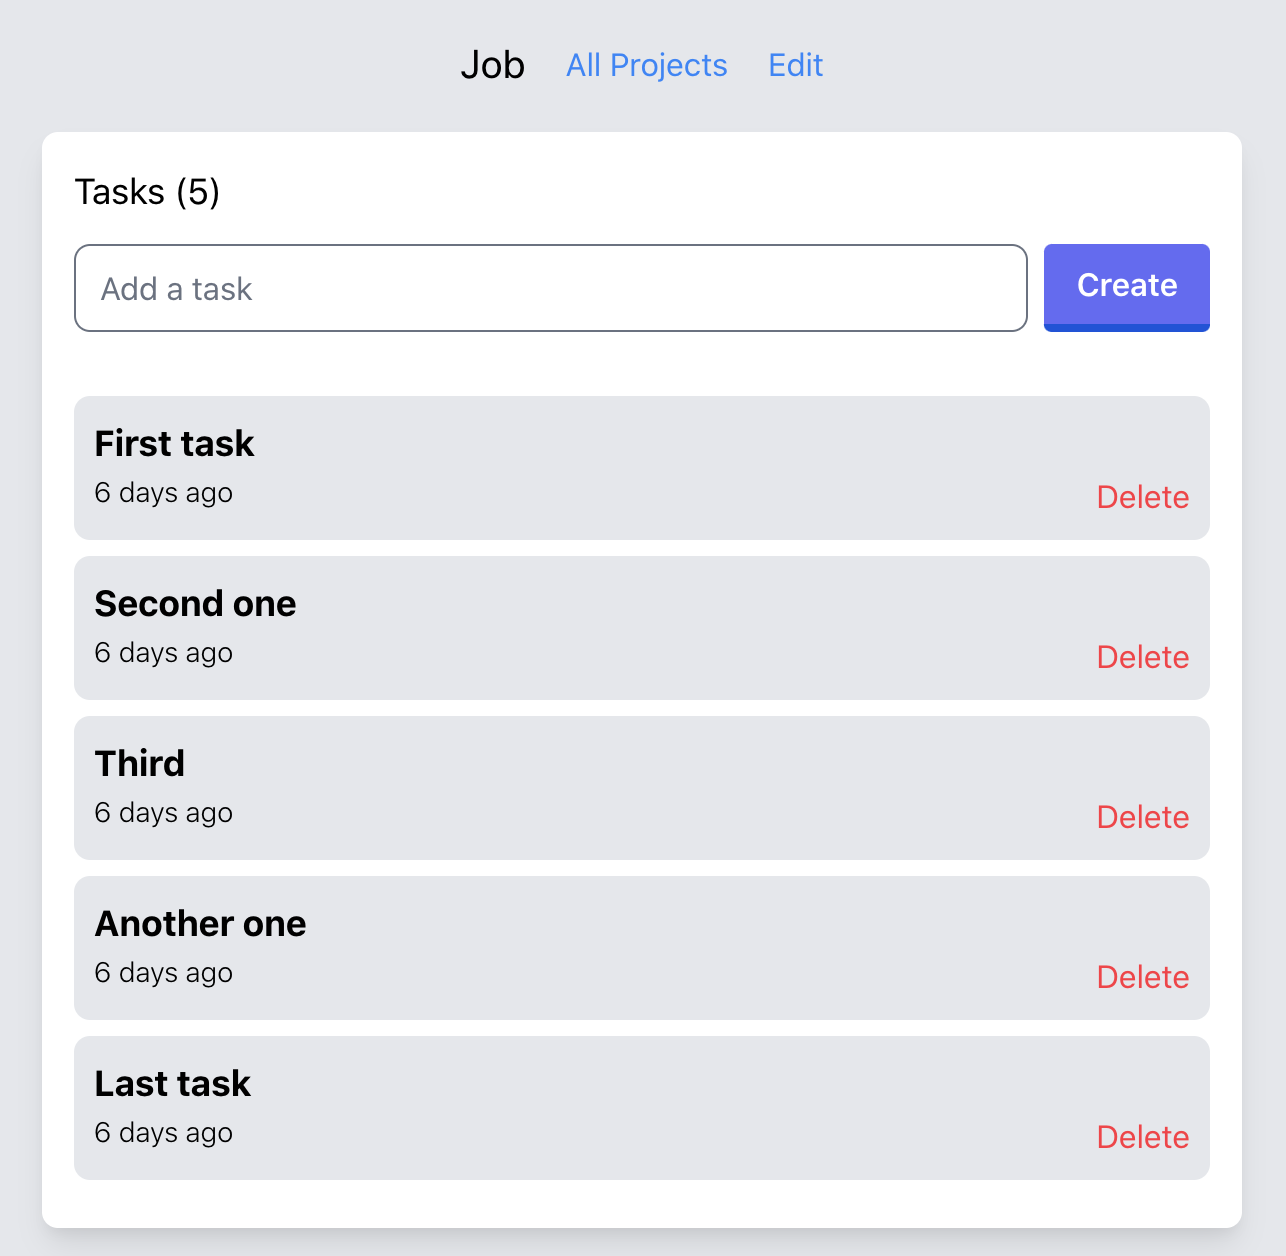
Before creating our component, I want to add more details to our Tasks to do it more interesting. Open the app/views/projects/show.html.erb file and update the tasks list 👇🏼:
1
2
3
4
5
6
7
8
9
10
11
12
13
<% @project.tasks.each do |task| %>
  <li class="border-2 bg-gray-200 hover:bg-gray-300 rounded-lg p-2 mb-2">
    <h3 class="text-lg font-bold">
      <%= task.content %>
    </h3>
    <div class="flex justify-between">
      <span class="text-sm font-light">
        <%= time_ago_in_words(task.created_at) %> ago
      </span>
      <a href="#" class="text-red-500">Delete</a>
    </div>
  </li>
<% end %>
You’ll see something like this:
Our first component!
To create our Task component is necessary run the next command:
1
2
3
4
5
6
7
8
> rails generate component Task task

Running via Spring preloader in process 40952
  create  app/components/task_component.rb
  invoke  test_unit
  create    test/components/task_component_test.rb
  invoke  erb
  create    app/components/task_component.html.erb
Running that command, we are just telling rails that we want to create a component with the name Task and it will receive a task as param, so the next step is to copy the HTML within the li element from app/views/projects/show.html.erb, I mean, the code that renders each task item and pastes it into app/components/task_component.html.erb replacing task variable with @task that it’s the instance variable from our TaskComponent class, like this:
1
2
3
4
5
6
7
8
9
10
11
<section class="border-2 bg-gray-200 hover:bg-gray-300 rounded-lg p-2 mb-2">
  <h3 class="text-lg font-bold">
    <%= @task.content %>
  </h3>
  <div class="flex justify-between">
    <span class="text-sm font-light">
      <%= time_ago_in_words(@task.created_at) %> ago
    </span>
    <a href="#" class="text-red-500">Delete</a>
  </div>
</section>
and let’s render the TaskComponent into the tasks lists
1
2
3
4
5
6
7
8
9
<% if @project.tasks.any? %>
  <ul>
    <% @project.tasks.each do |task| %>
      <li><%= render(TaskComponent.new(task: task)) %></li>
    <% end %>
  </ul>
<% else %>
  <h3 class="text-md">Add your first task ☝️</h3>
<% end %>
and voila! Your first component is working 🤟🏼, you should see the same view as before
Refactor and test
The first thing I want to do is order our /components dir, so let’s do these changes 👇🏼
- Create a folder called
/taskwithin/componentsdir. - Rename
task_component.rbtocomponent.rband move it to/taskfolder. - Rename
task_component.html.erbtocomponent.html.erband move it to/taskfolder. - Rename the class
TaskComponenttoTask::Component, this because we have ataskmodule now. - Rename
TaskComponent.new(task: task)toTask::Component.new(task: task)
at the end, you should see this structure of folders 👇🏼 and the HTML view should be the same as the above screenshot
1
2
3
4
5
6
> tree app/components

app/components
└── task
    ├── component.html.erb
    └── component.rb
with this, we are ready to test our component 💪 but before continuing, let’s change our file test/components/task_component_test.rb to test/components/task/component_test.rb and add these small changes 👇🏼
- Add this CSS class
task__contentto theh3element where we have the Task content inapp/components/task/component.html.erb, just for the purpose of this example and you can see how we can identify our HTML elements in the test:
1
2
3
4
5
<section class="border-2 bg-gray-200 hover:bg-gray-300 rounded-lg p-2 mb-2">
  <h3 class="task__content text-lg font-bold">
    <%= @task.content %>
  </h3>
  ...
- Go to
test/fixtures/tasks.ymland create a dummy Task for our test:
1
2
3
first_task:
  project: one
  content: This is my first task
and finally you are ready to write the test into this file test/components/task/component_test.rb 🎉🎉🎉
1
2
3
4
5
6
7
8
9
10
require 'test_helper'

class Task::ComponentTest < ViewComponent::TestCase
  def test_render_component
    task = tasks(:one)
    render_inline(Task::Component.new(task: task))

    assert_selector('h3.task__content', text: 'This is my first task')
  end
end
Let´s review each line together:
- In this line
task = tasks(:one)we are creating the dummy Task we added in the tasks fixture - With
render_inlinewe are asserting against the rendered output. - and the last line
assert_selectorwe are just comparing thath3with the CSS classtask__contenthas the expected content we added into the tasks fixture:This is my first task.
You can run your test in this way
1
2
3
4
5
6
7
8
9
10
11
> rails test test/components/task/component_test.rb

Running via Spring preloader in process 54617
Run options: --seed 60900

# Running:

.

Finished in 0.444012s, 2.2522 runs/s, 2.2522 assertions/s.
1 runs, 1 assertions, 0 failures, 0 errors, 0 skips
Your test is passed! 😃
Now you know how to create your own ViewComponents and test them, I hope this post is helpful, see you next! 👋🏼